
Meedio Helpdesk
Consultations
In this article you will learn how to set up, share and join a consultation. You will also learn how to filter your consultations and obtain your consultation data as well as how to setup the Two-factor authentication..
Setup Consultations
Sign into Meedio
- If help needed refer to Sign in
Access the consultations
- Press on Consultations in the navigation bar located on the left of your screen below the meedio logo

Setup Two-factor authentication
Generate verification code
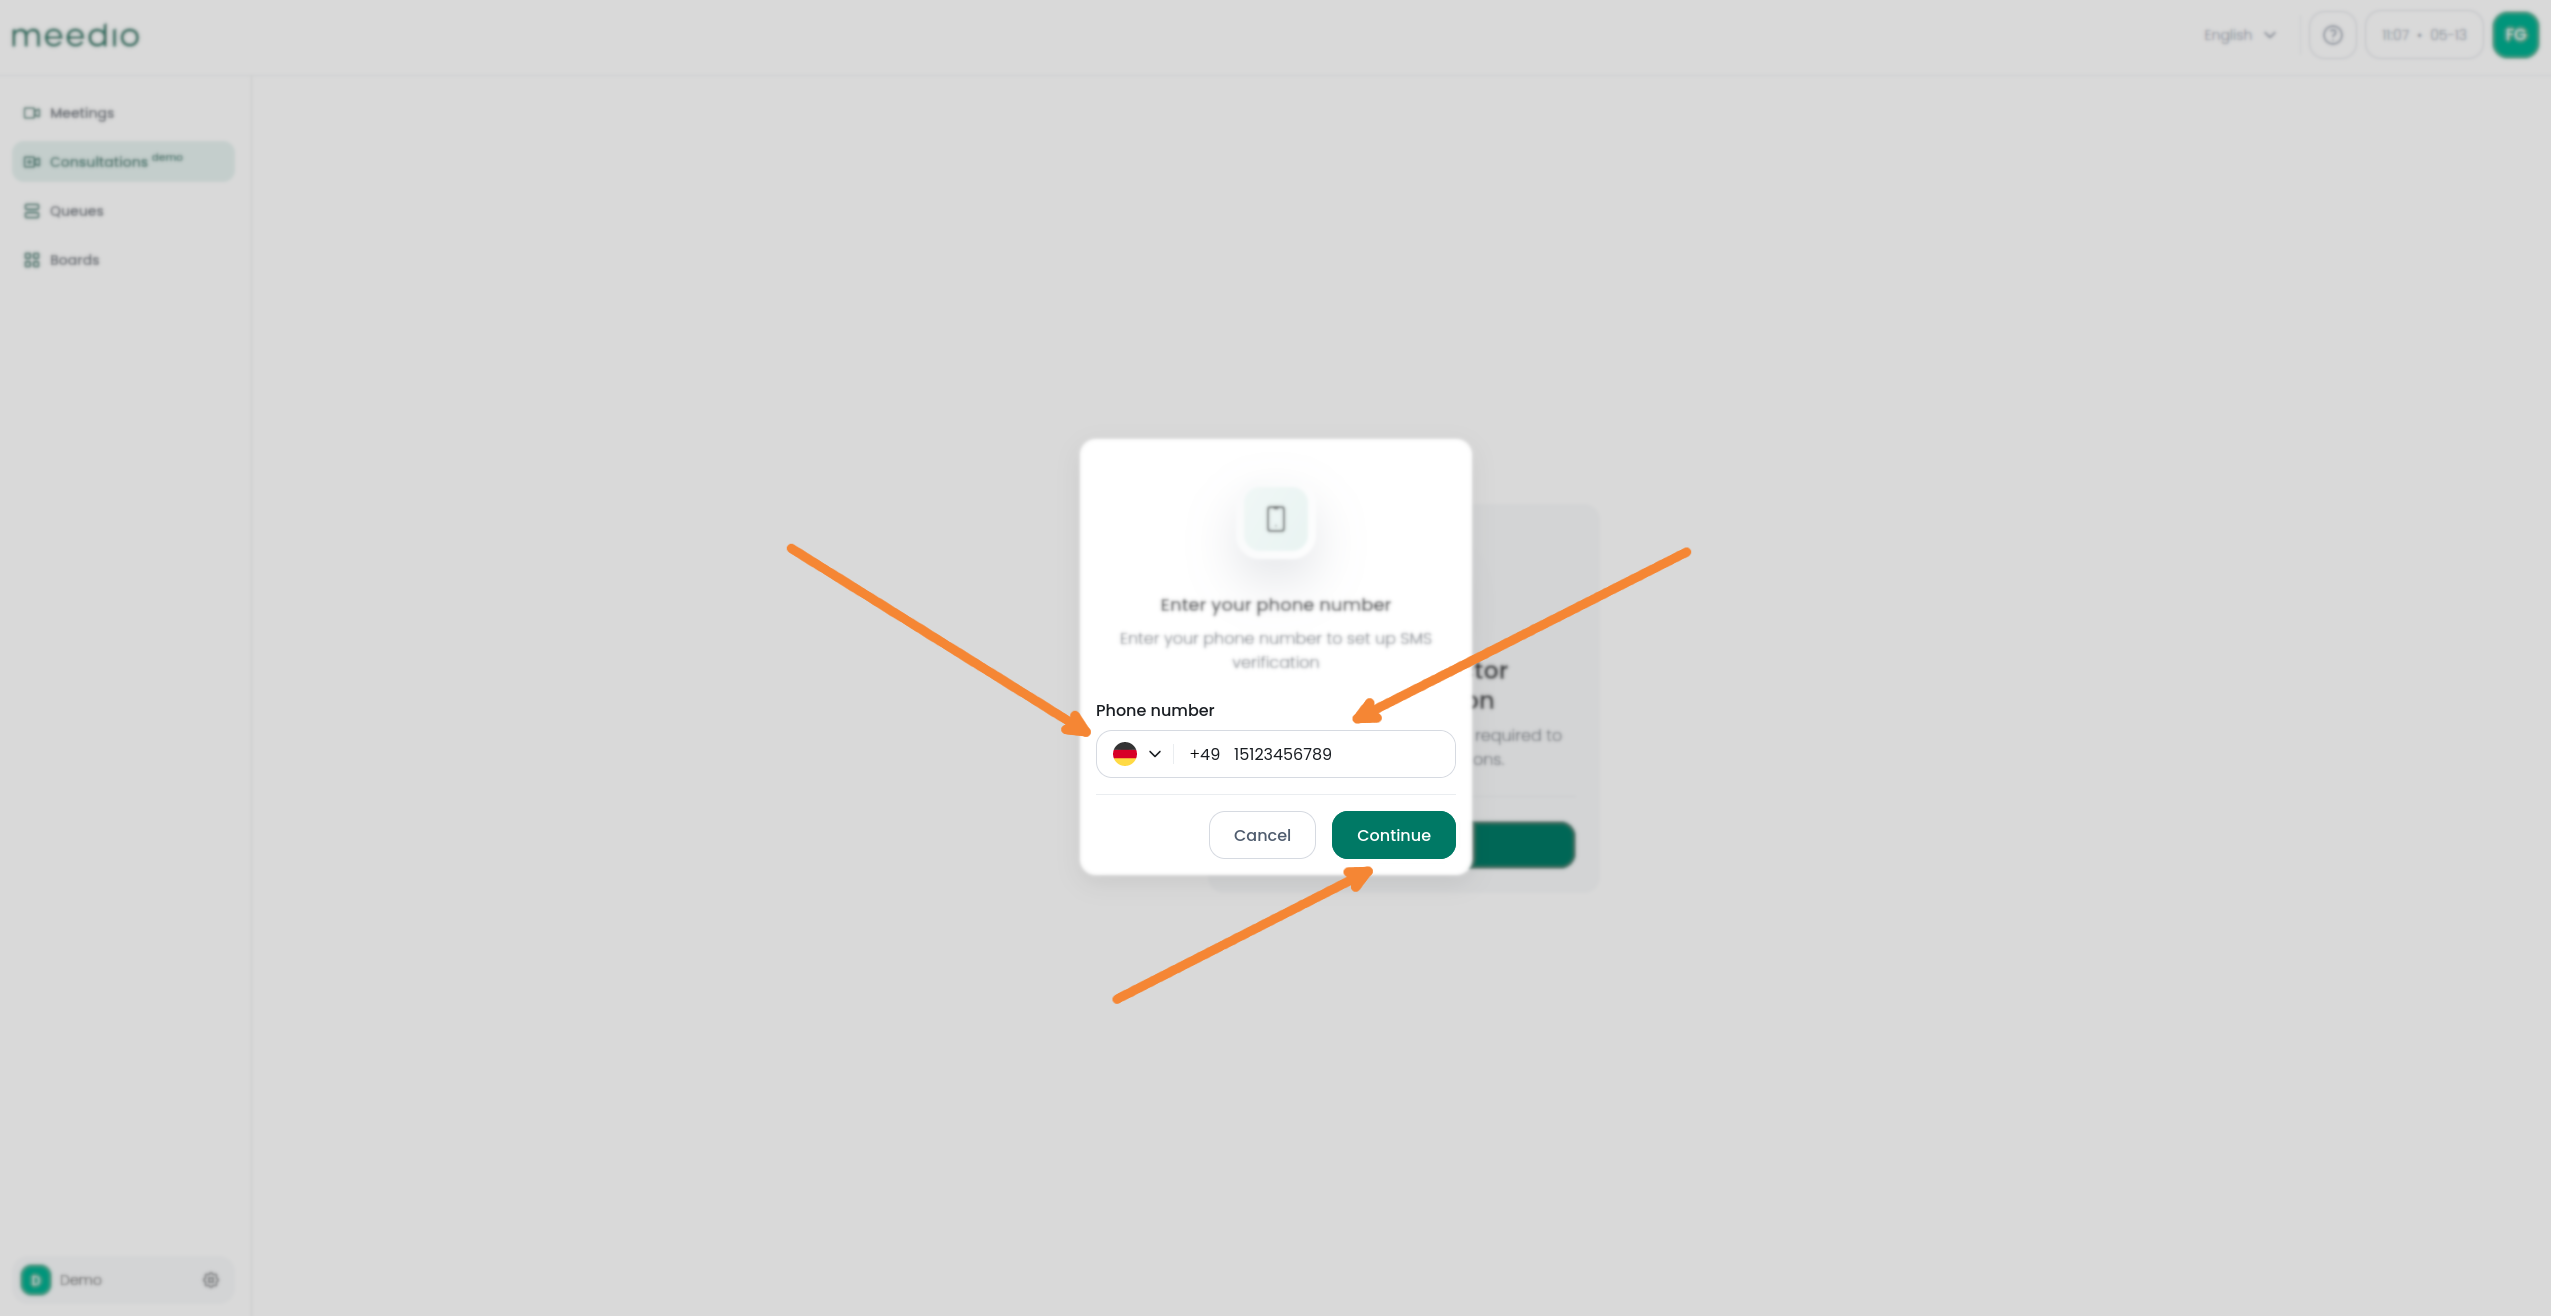
- Press the green "Setup" Button
- Select your area code by pressing on the flag button or typing it in directly
- Enter your telephone number into the Phone number text box
- Press the green "Continue" button to receive your 6-digit verification code via SMS

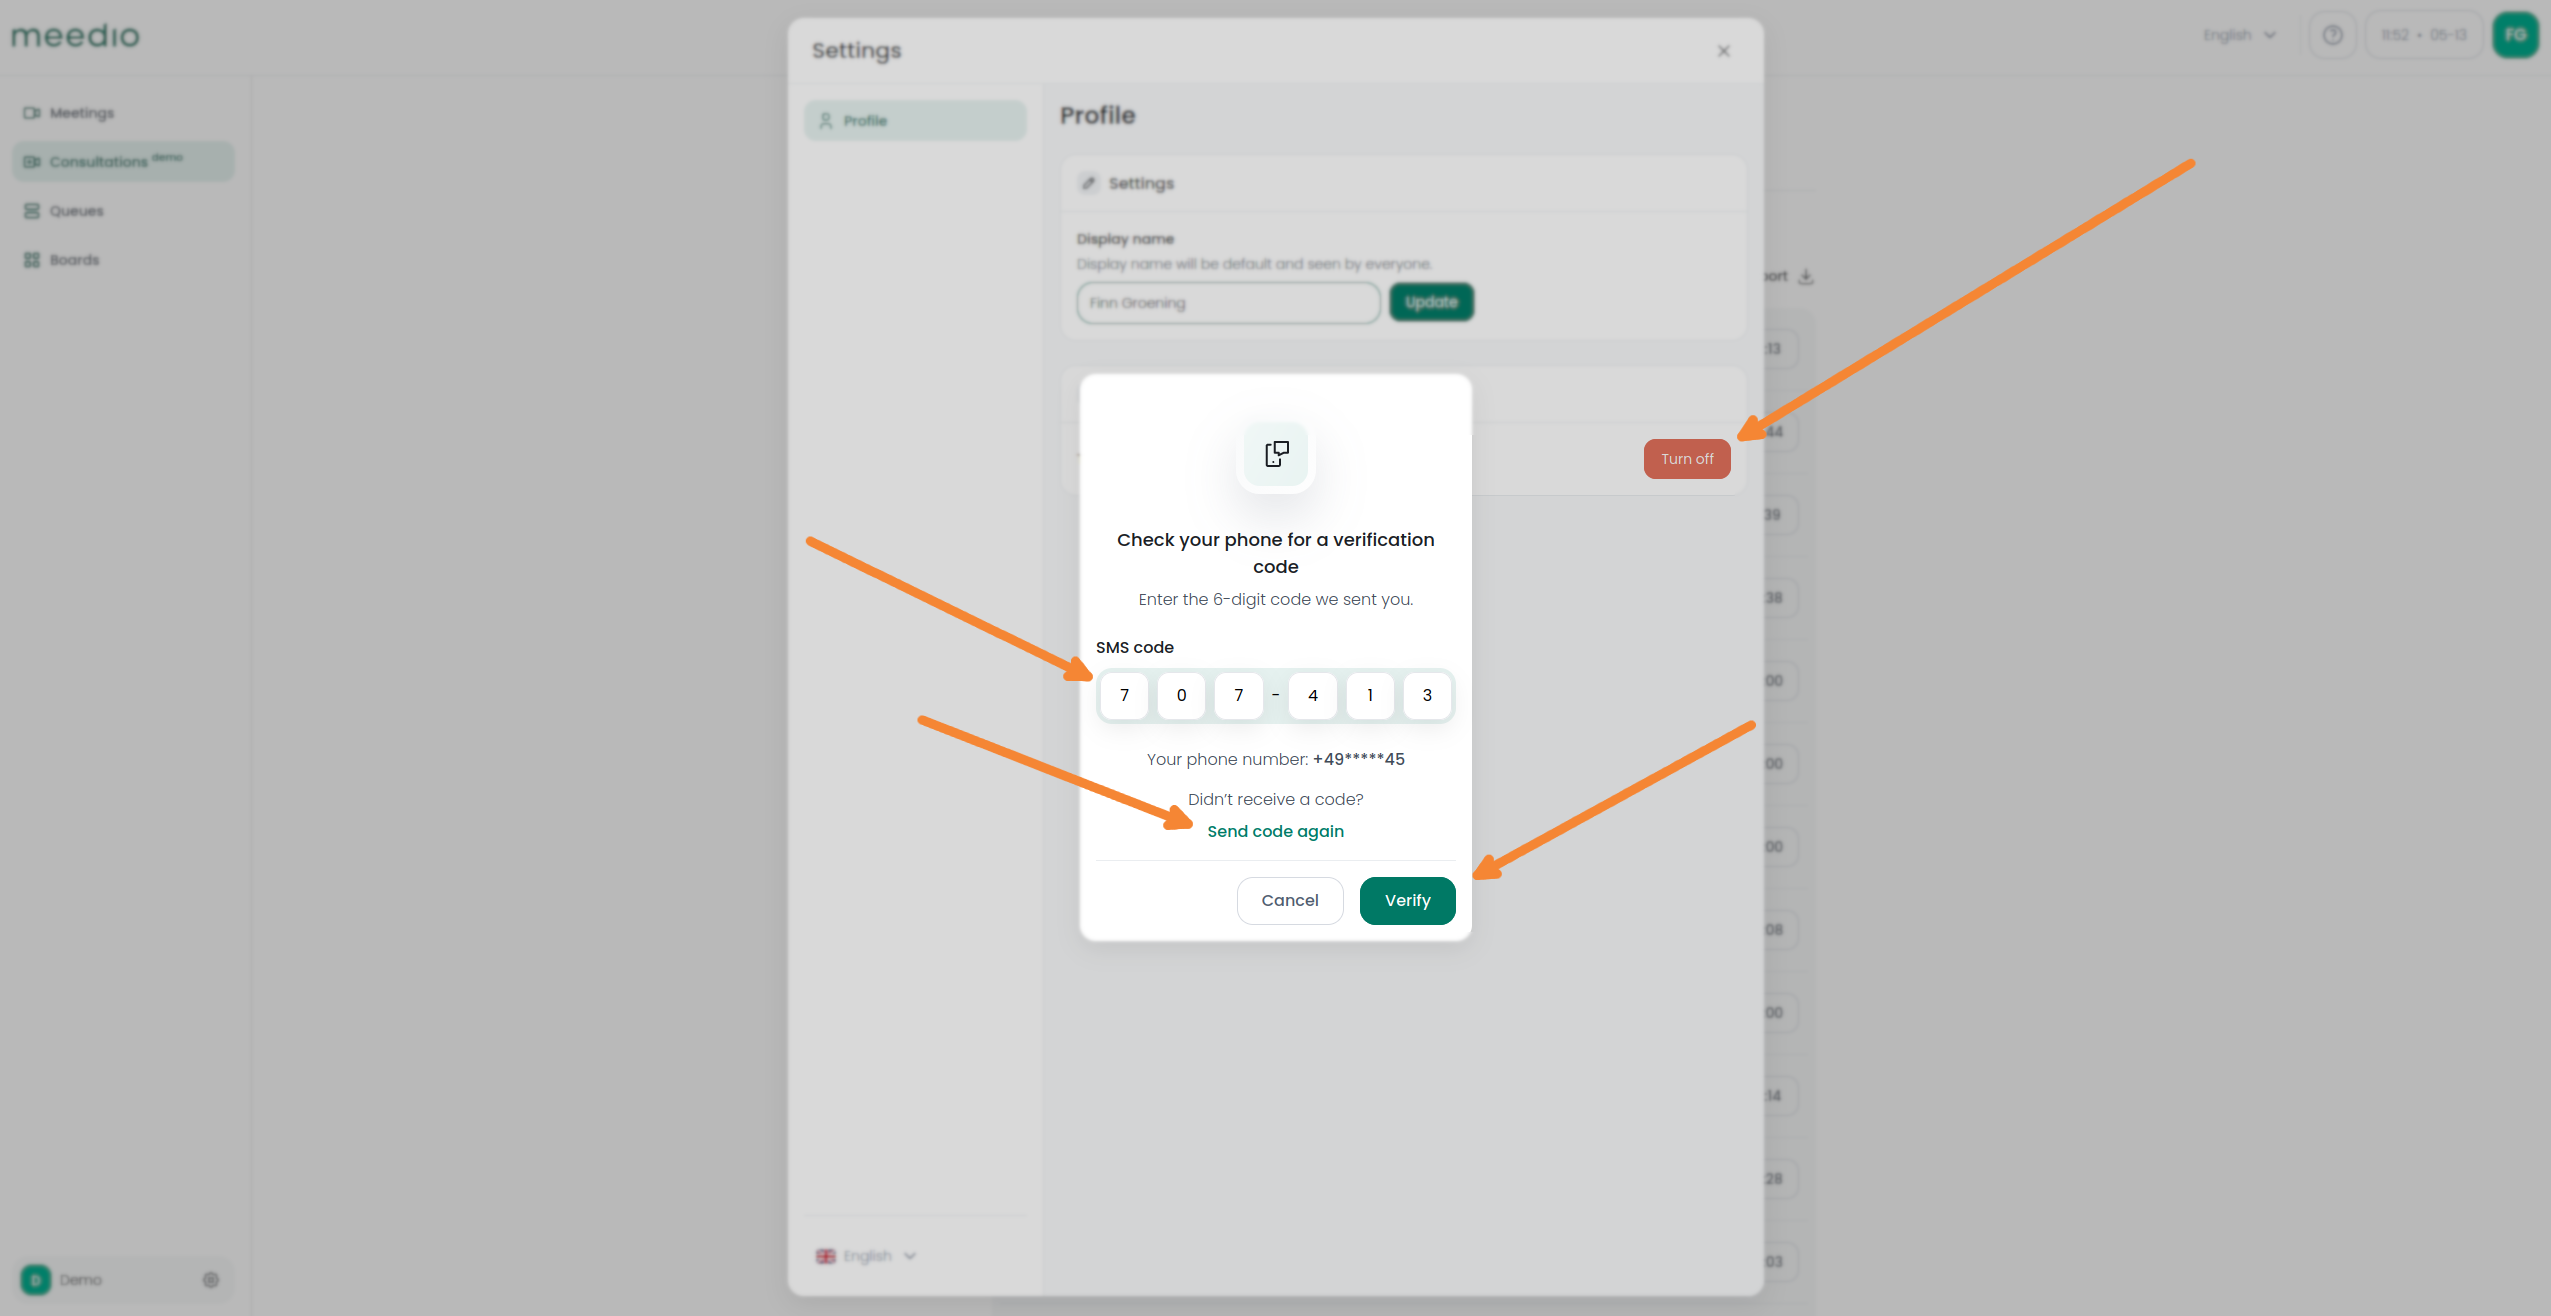
Enter your verification code
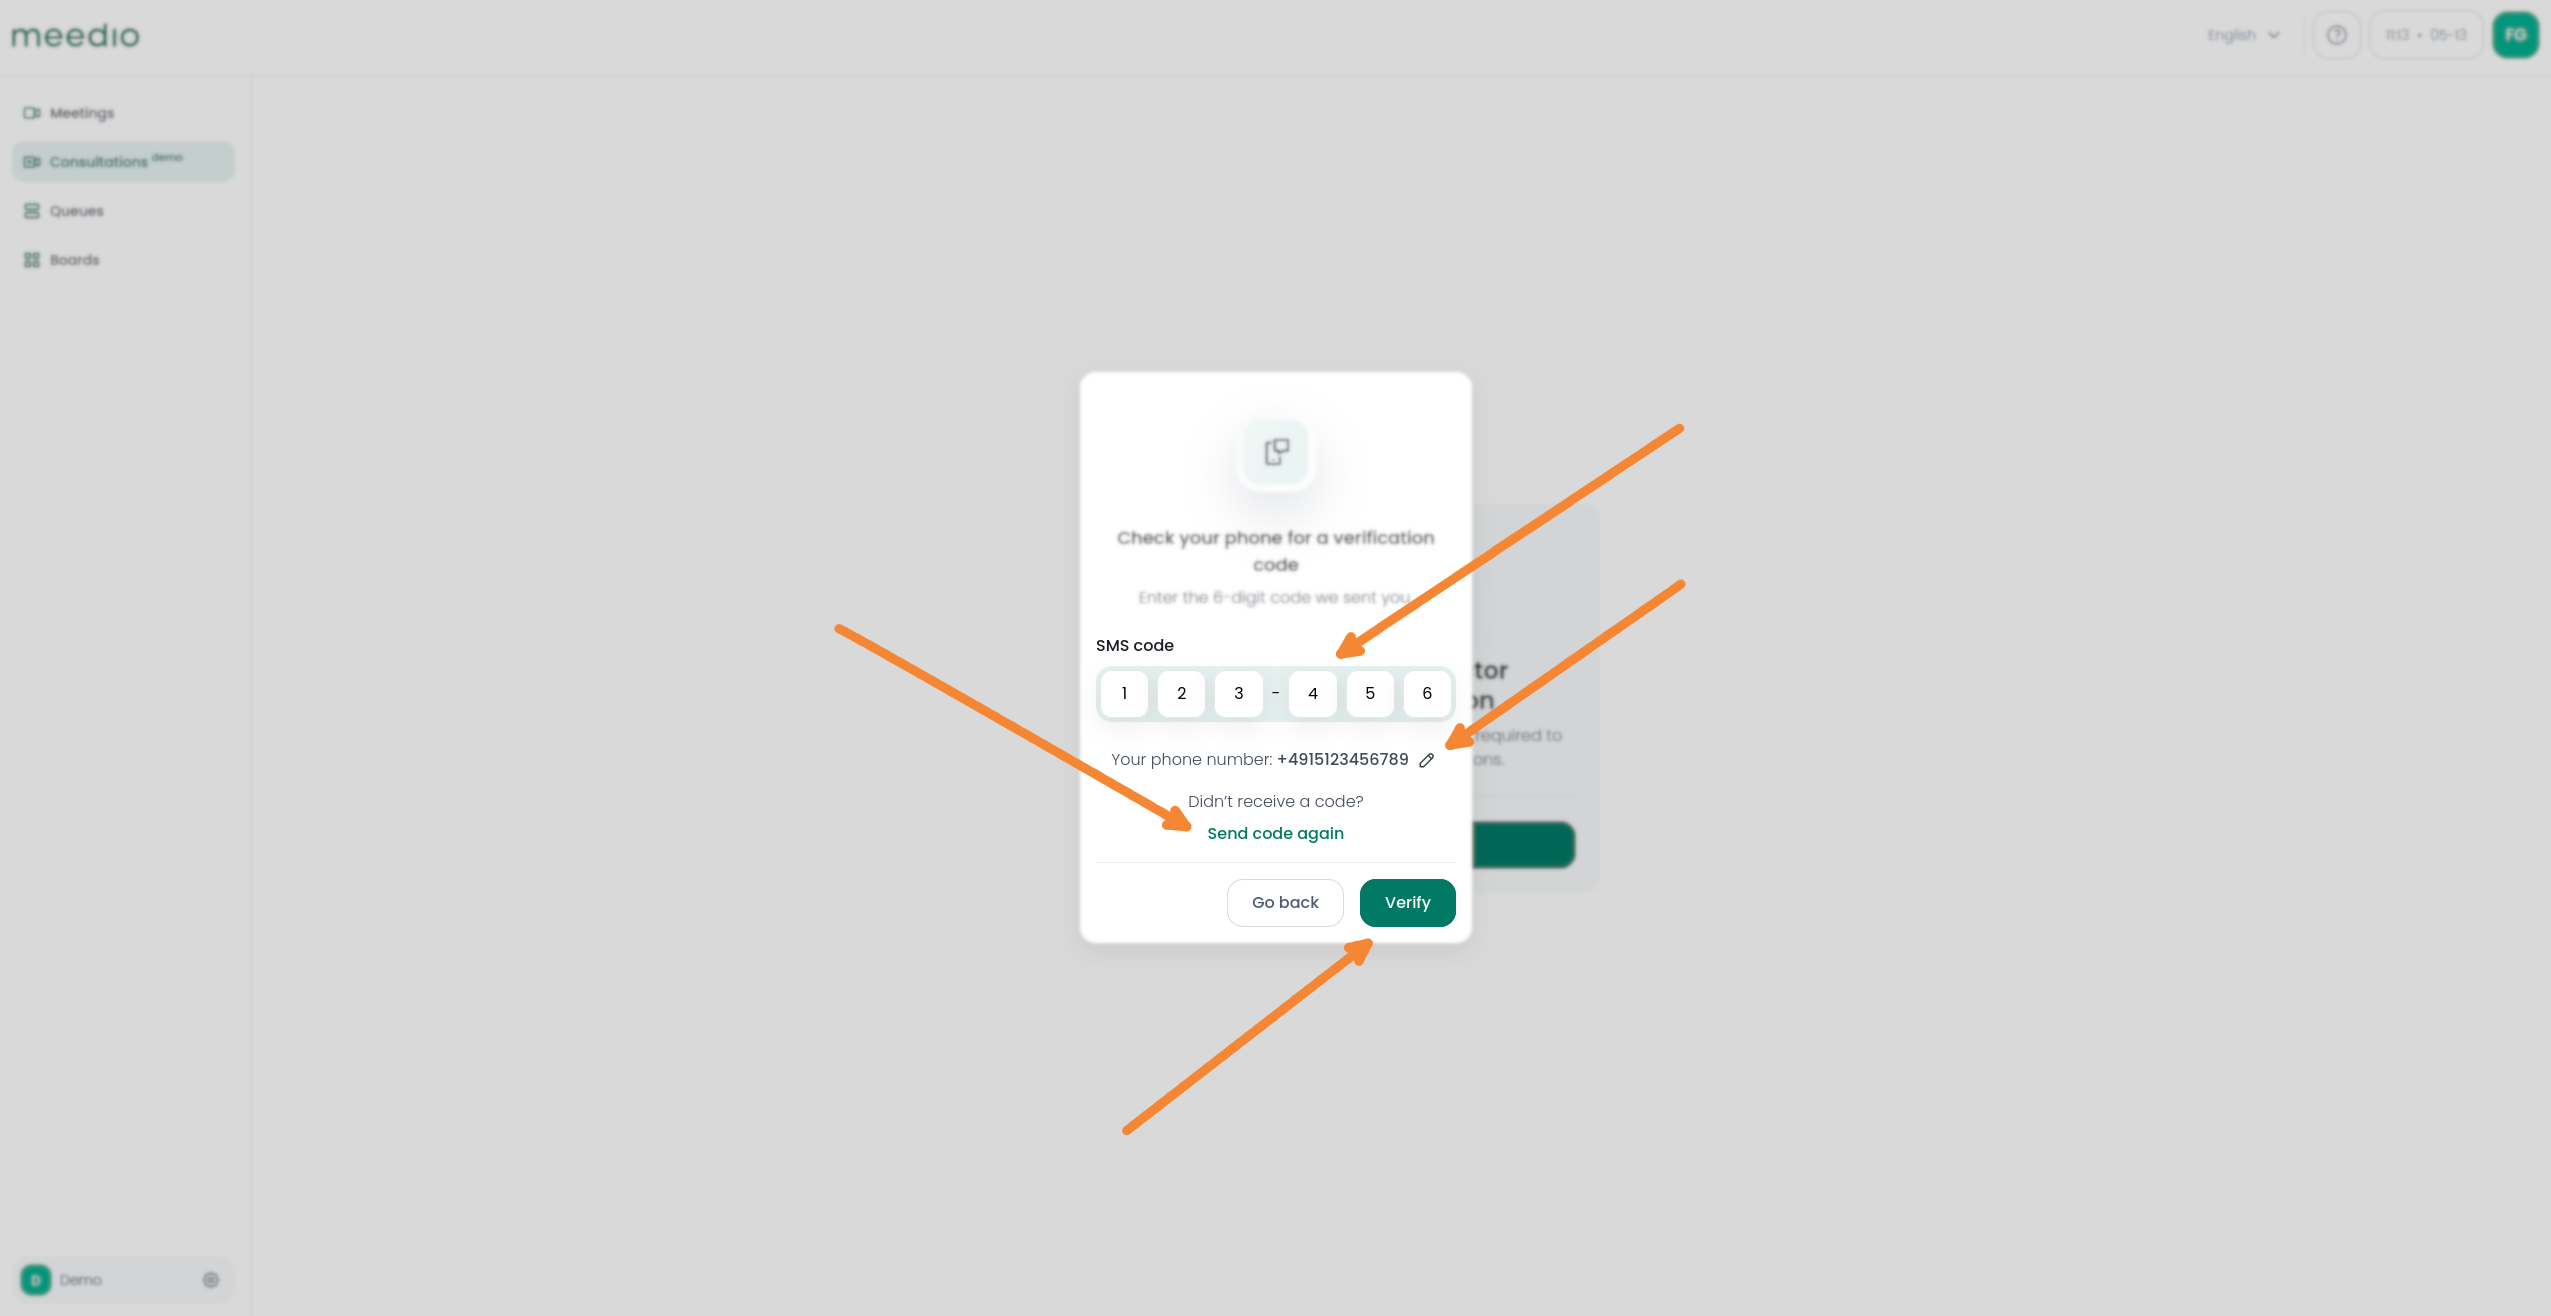
- Type in the 6-digit code you received via SMS
- Your code will stay valid for one hour or until you request a new one
- If you selected the wrong phone number you can change it by pressing on the pen button next to your phone number or by pressing the white "Go back" button
- If you did not receive a code you can receive a new code by pressing on the green "Send code again" text
- After entering the verification code press the green "Verify" button
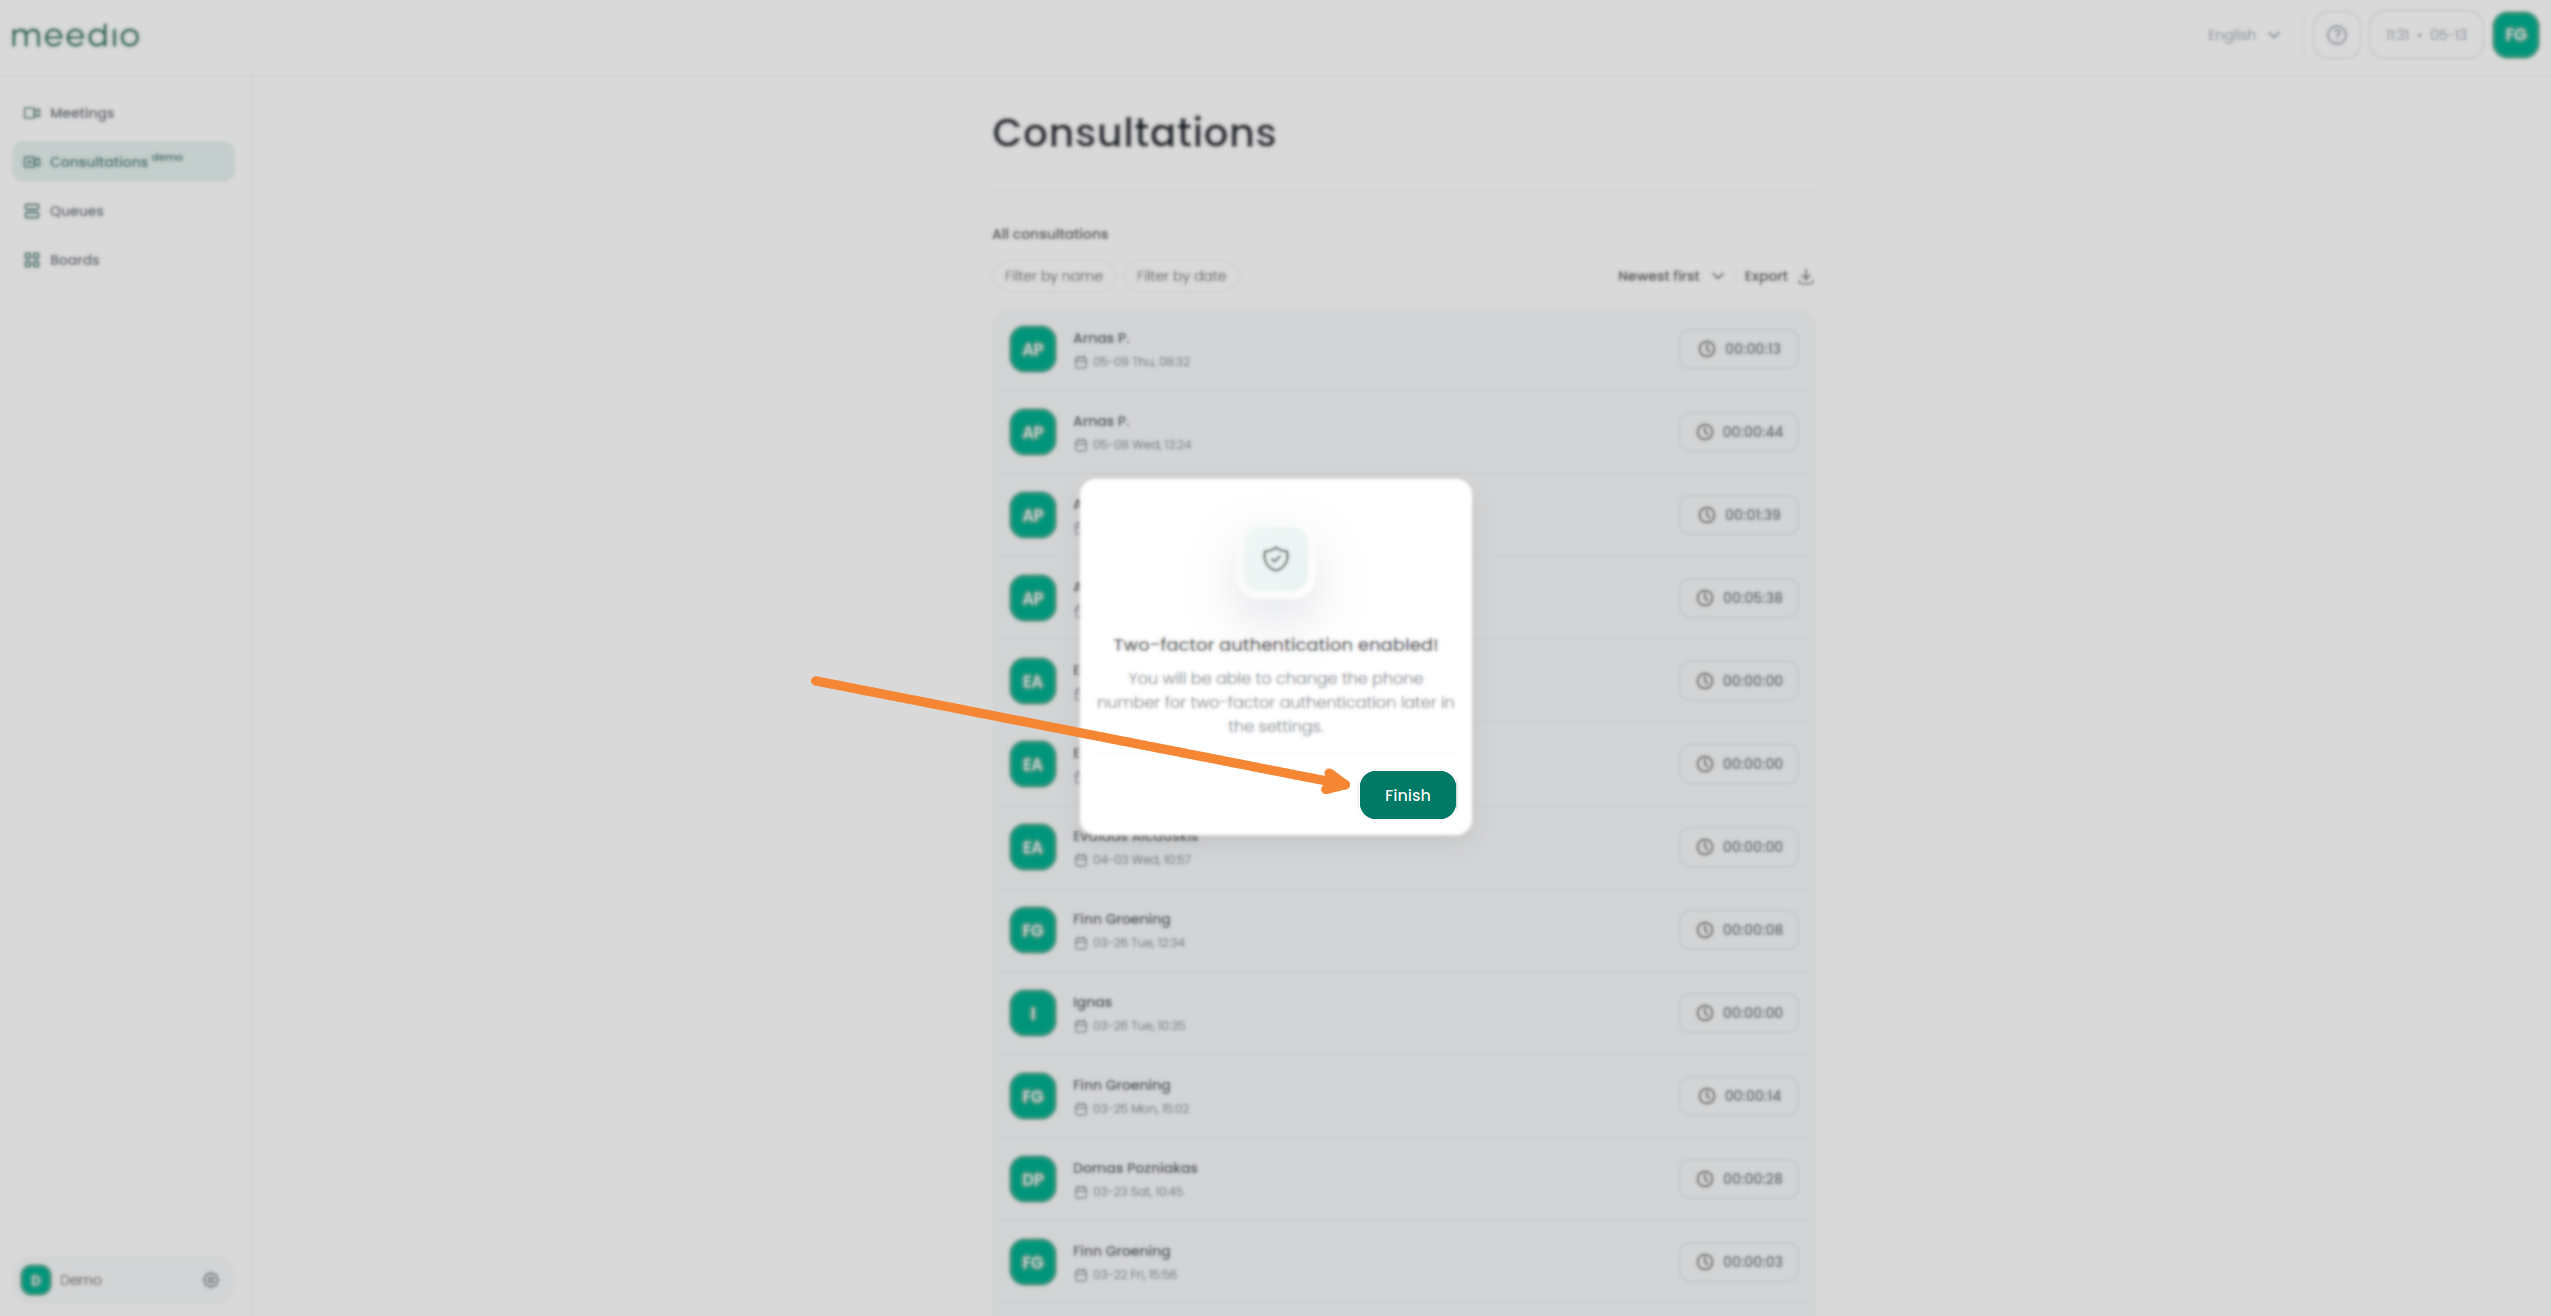
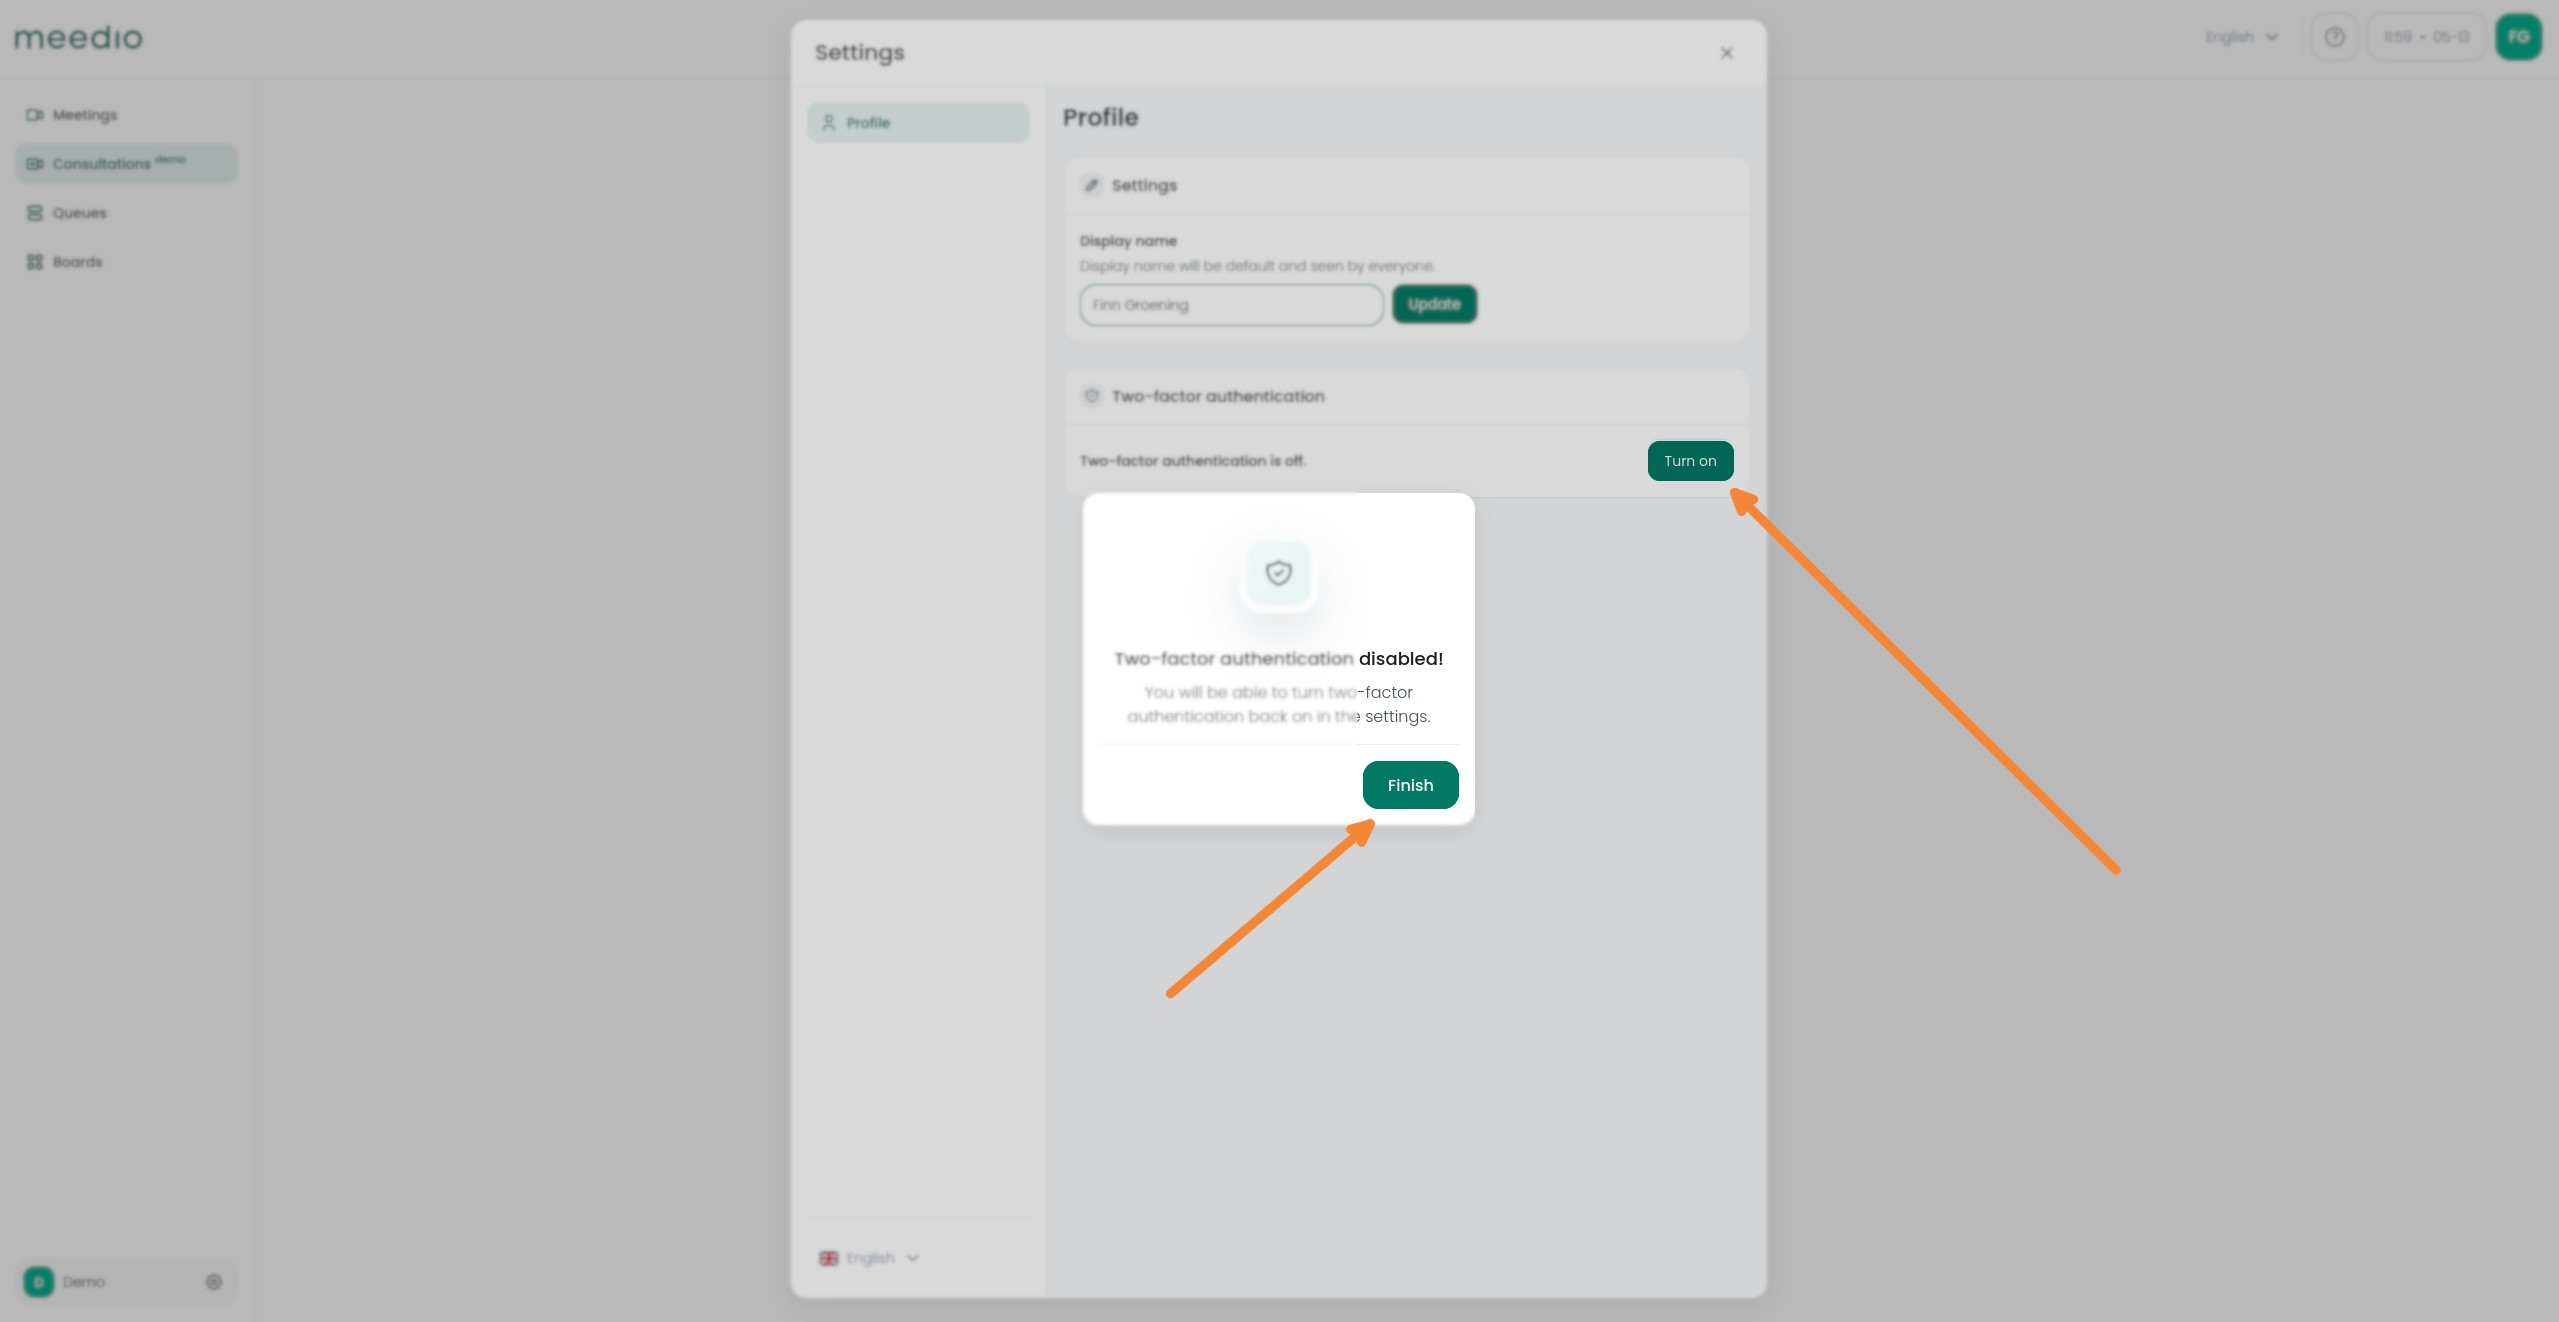
- Now you can see a pop-up informing you about the Two-factor authentication being enabled
- Press the green "Finish" button to securely access your consultations
Change Two-factor authentication phone number
Access profile settings
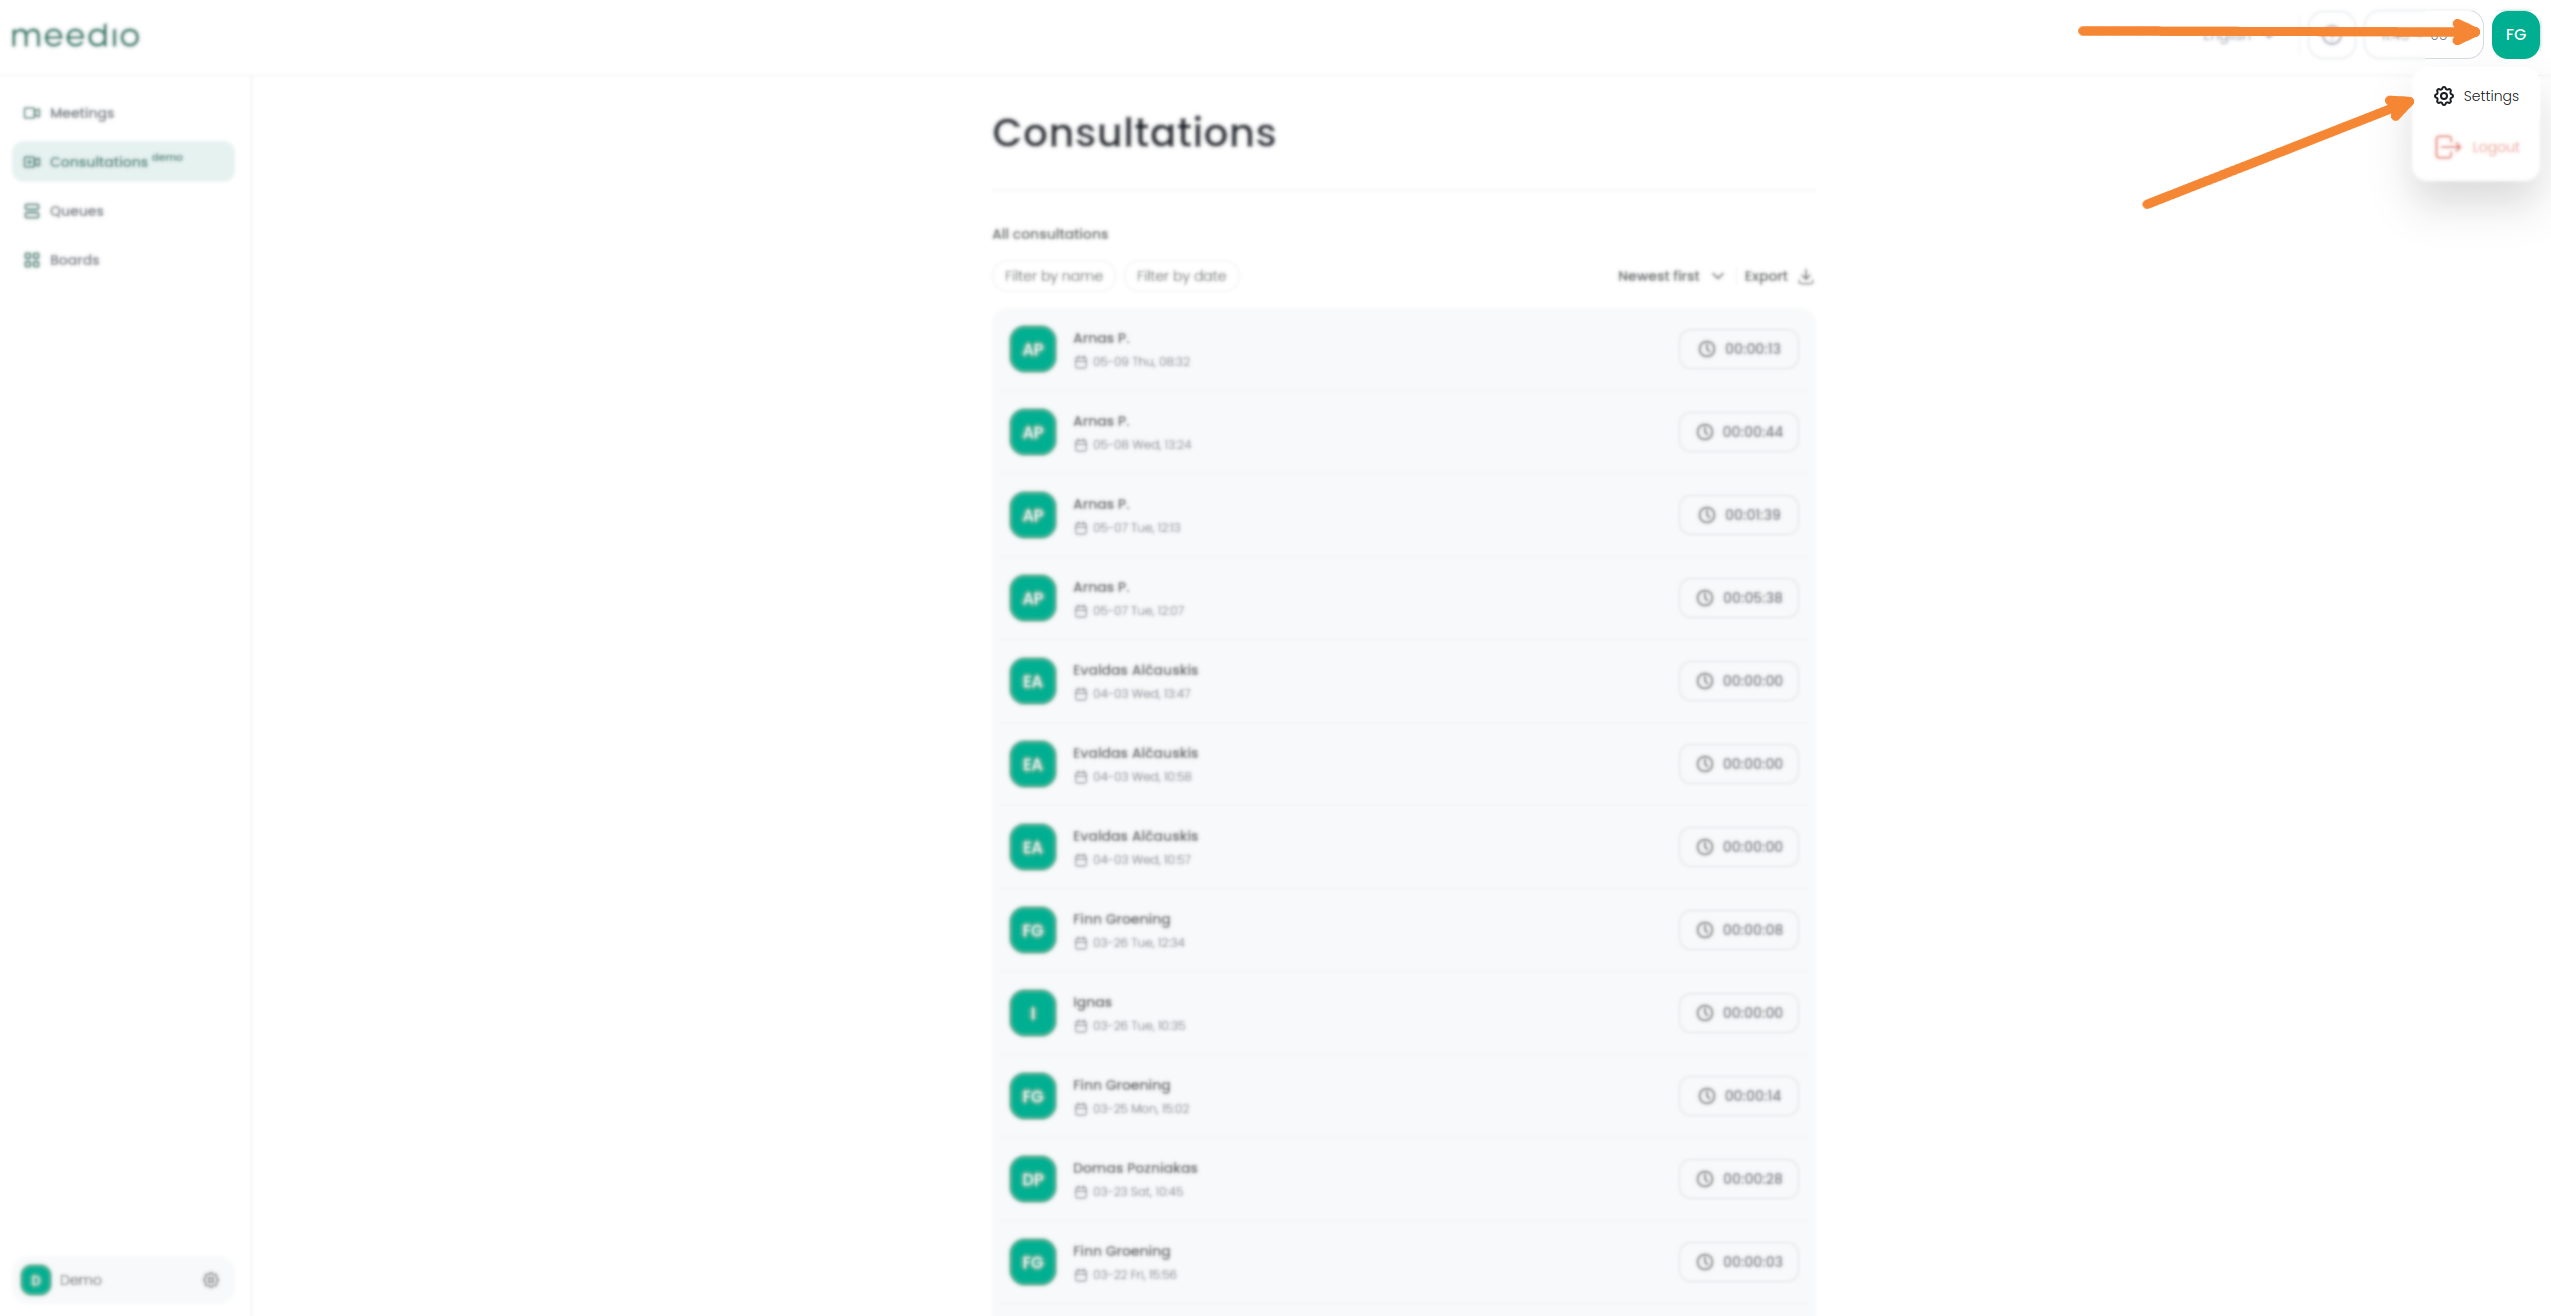
- Press the green button with your initials on it located at the top right of your screen
- Press the "Settings" gear button to go to your personal account settings
Turn off Two-factor authentication
- Press the red "Turn off" button in your Profile tab to start a new authentication process.
- You will need to enable it again to access consultations
- Type in the 6-digit code you received via SMS
- If you did not receive a code you can receive a new code by pressing on the green "Send code again" text
- After entering the verification code press the green "Verify" button
Re-enable Two-factor authentication
- After you disabled Two-factor authentication press the green "Finish" button
- If you turned Two-factor authentication off a while ago, access your profile settings. If help needed refer to "Access profile settings" above
- Press the green "Turn on" button in your Profile tab to generate a new verification code
- Enable Two-factor authentication again with your desired phone number. If help needed refer to "Setup Two-factor authentication" above
Create Consultations
- To be able to create consultations your account must be registered as a physician account
- As Two-factor authentication is required you must press the green "Get SMS code" button or setup Two-factor authentication. If help needed refer to "Setup Two-factor authentication" above

Set up the consultation
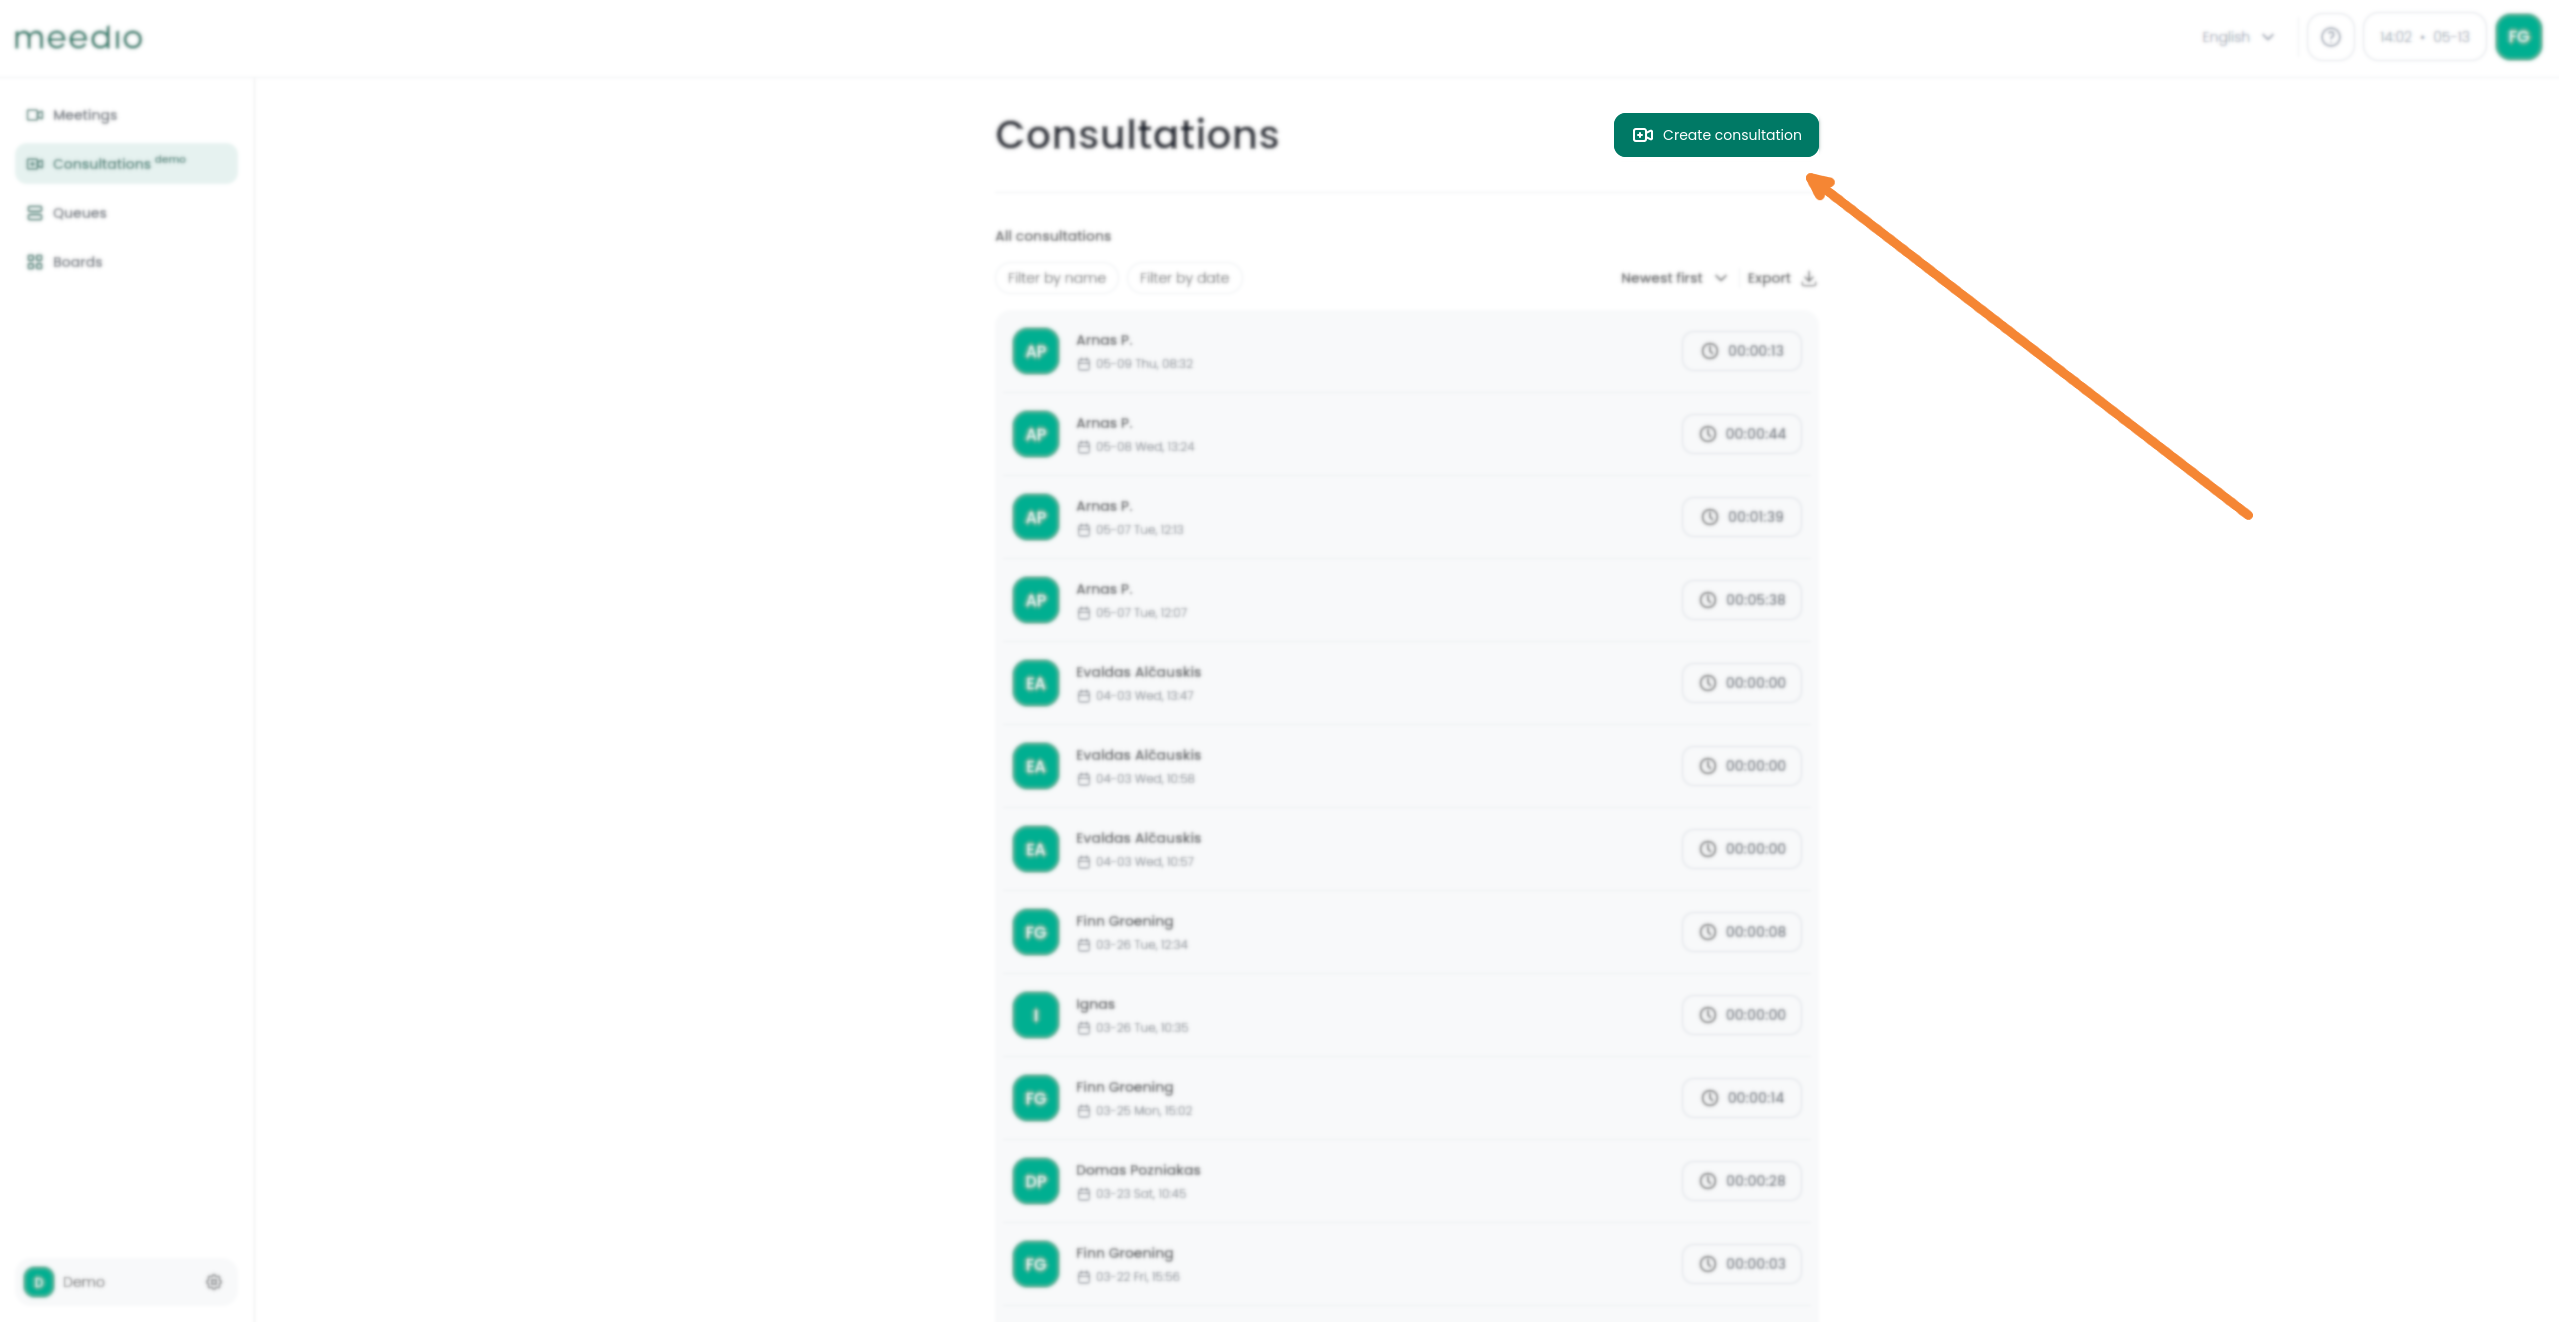
- Press the green "Create consultation" button next to the "Consultations" heading
- Allow camera and microphone access by pressing the green "Request permissions" button and then press on allow on the pop up coming from your browser
Share the consultation
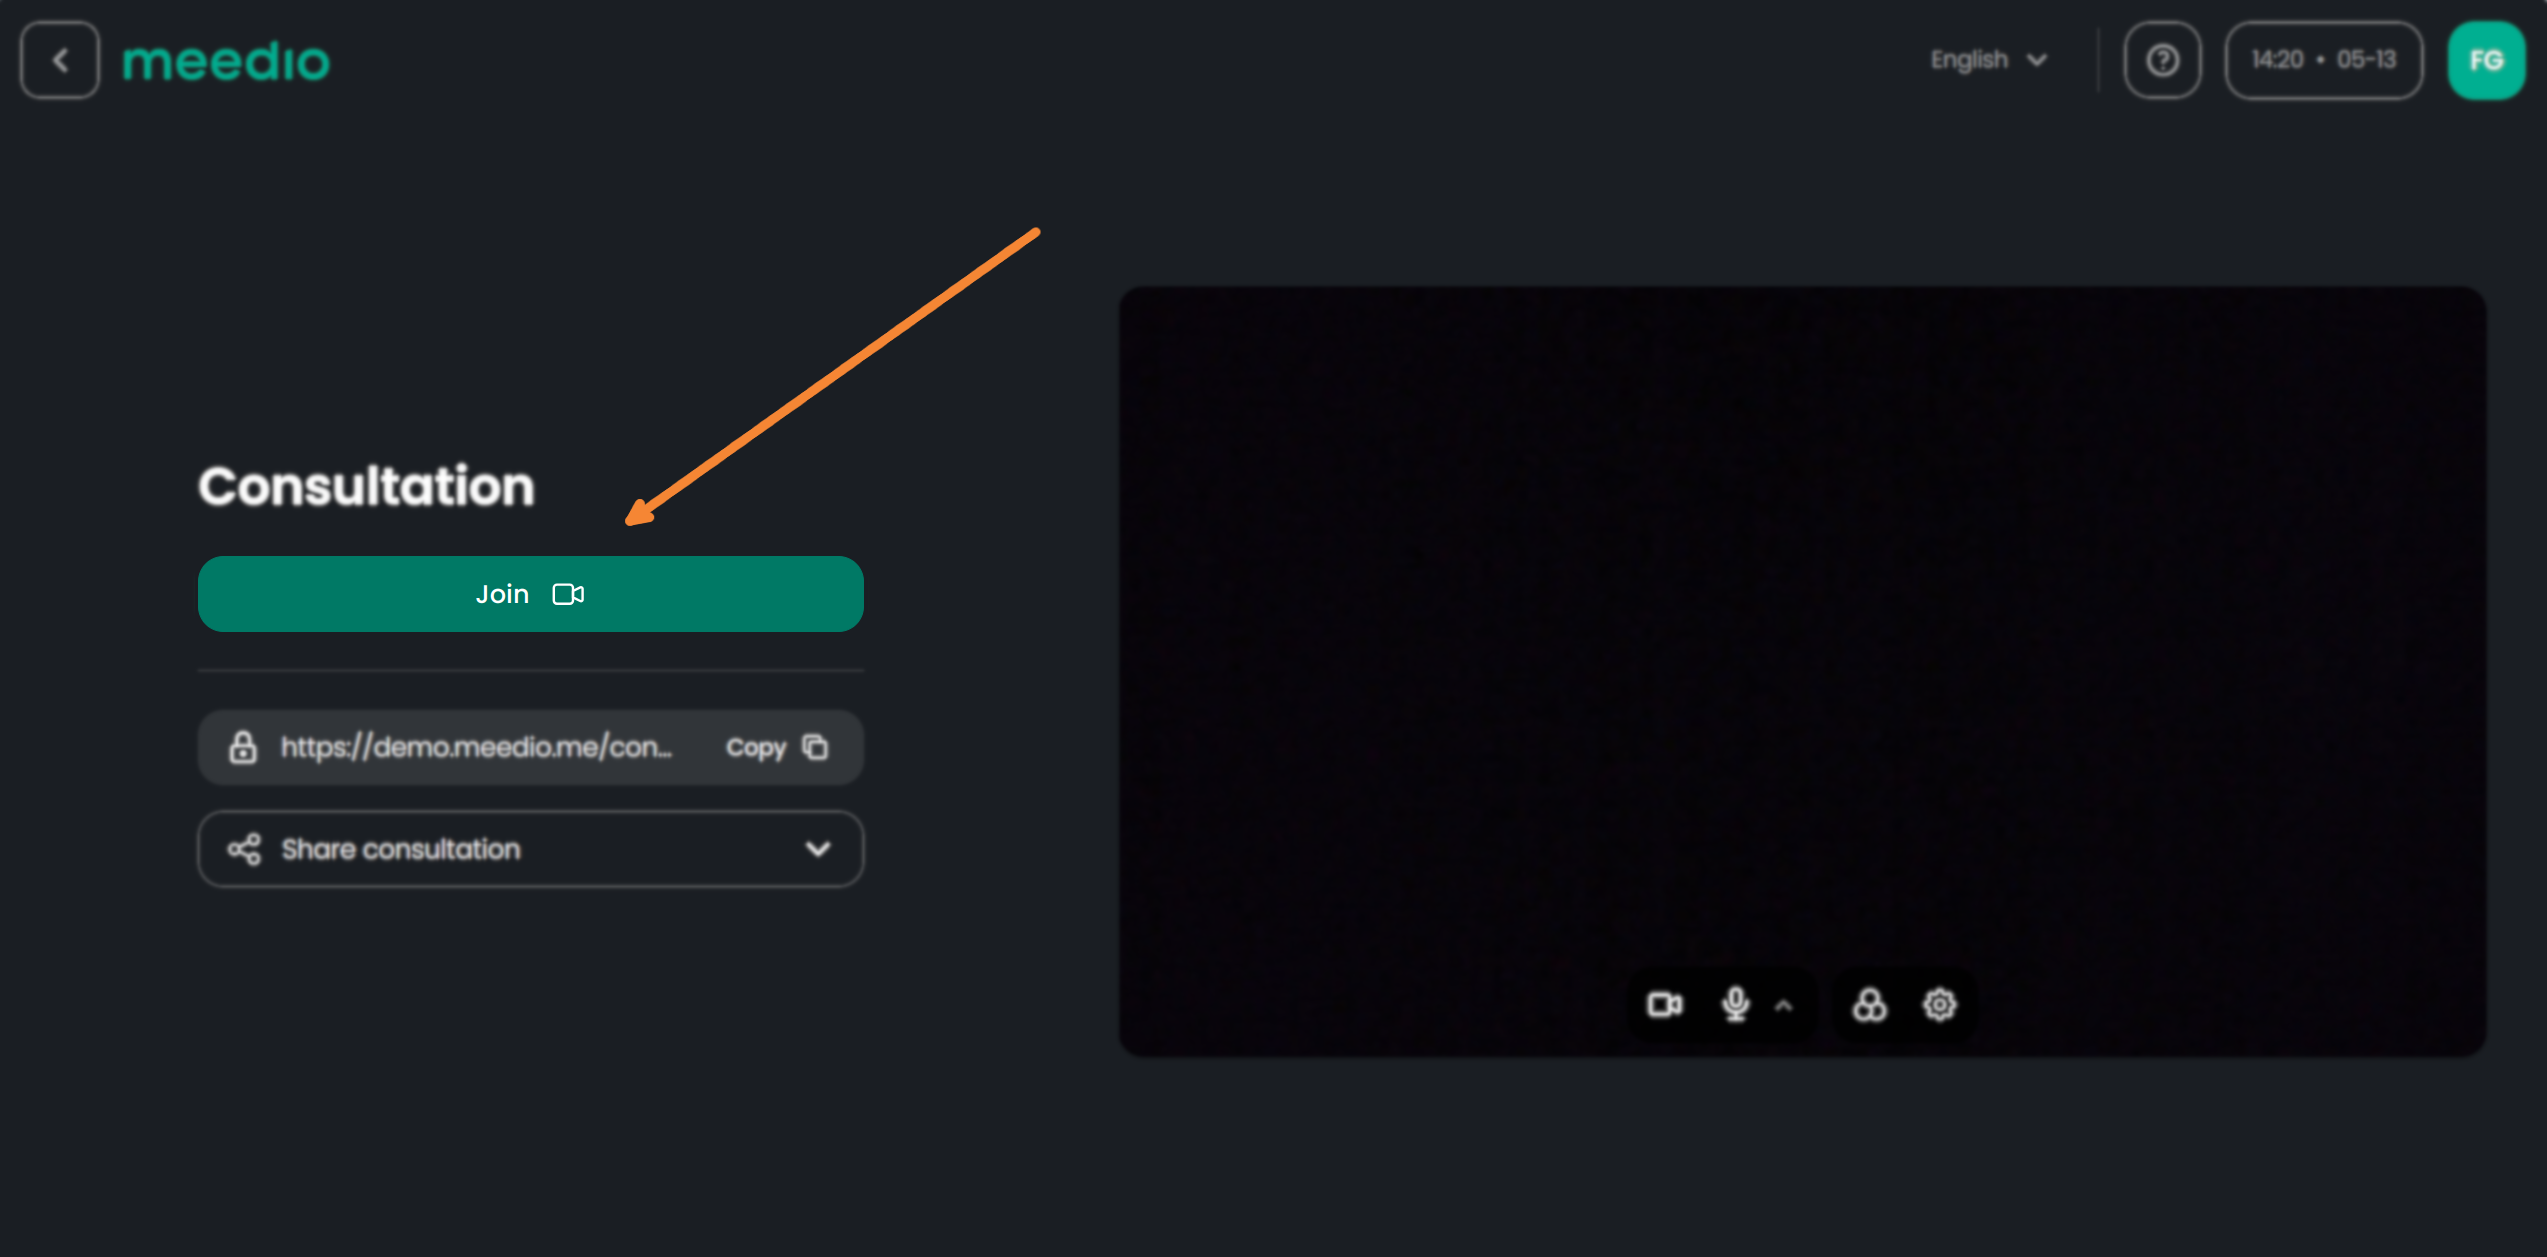
- You can invite other people to the consultation via link
- Either copy the link directly saving a copy of the link into your clipboard by pressing the "Copy" button below the green "Join" button (after joining the consultation inside the "Share consultation" pop-up, or next to your video recording)
- Or send an Email with the link directly via the "Share consultation" button below the URL and then select your desired Email provider
- You can also share the consultation after joining the consultation by pressing the "Share consultation" button located at the bottom left of your screen and then following the previous steps


Join the consultation
- Press the green "Join" Button which is located below the heading "Consultations"
- You should be able to see a green check mark next to your name on the bottom left of your video recording indicating you are the creator of the consultation
- Consultation guests will be able to only join one at a time
Experience the consultation
- Once you join you are presented with the pre-meeting screen for guests
- Make adjustments to your audio & video. If help needed refer to Video & Audio
- Enter the name which will be displayed once you entered the meeting
- Consent to meedio about processing your data with the purpose of establishing a video meeting by pressing the box below the greyed out "Join" button
- Press the green "Join" button to enter the consultation
- If the consultation is occupied or the physician has not yet joined the consultation you will receive a message that the meeting is full. Try to join again in a few minutes

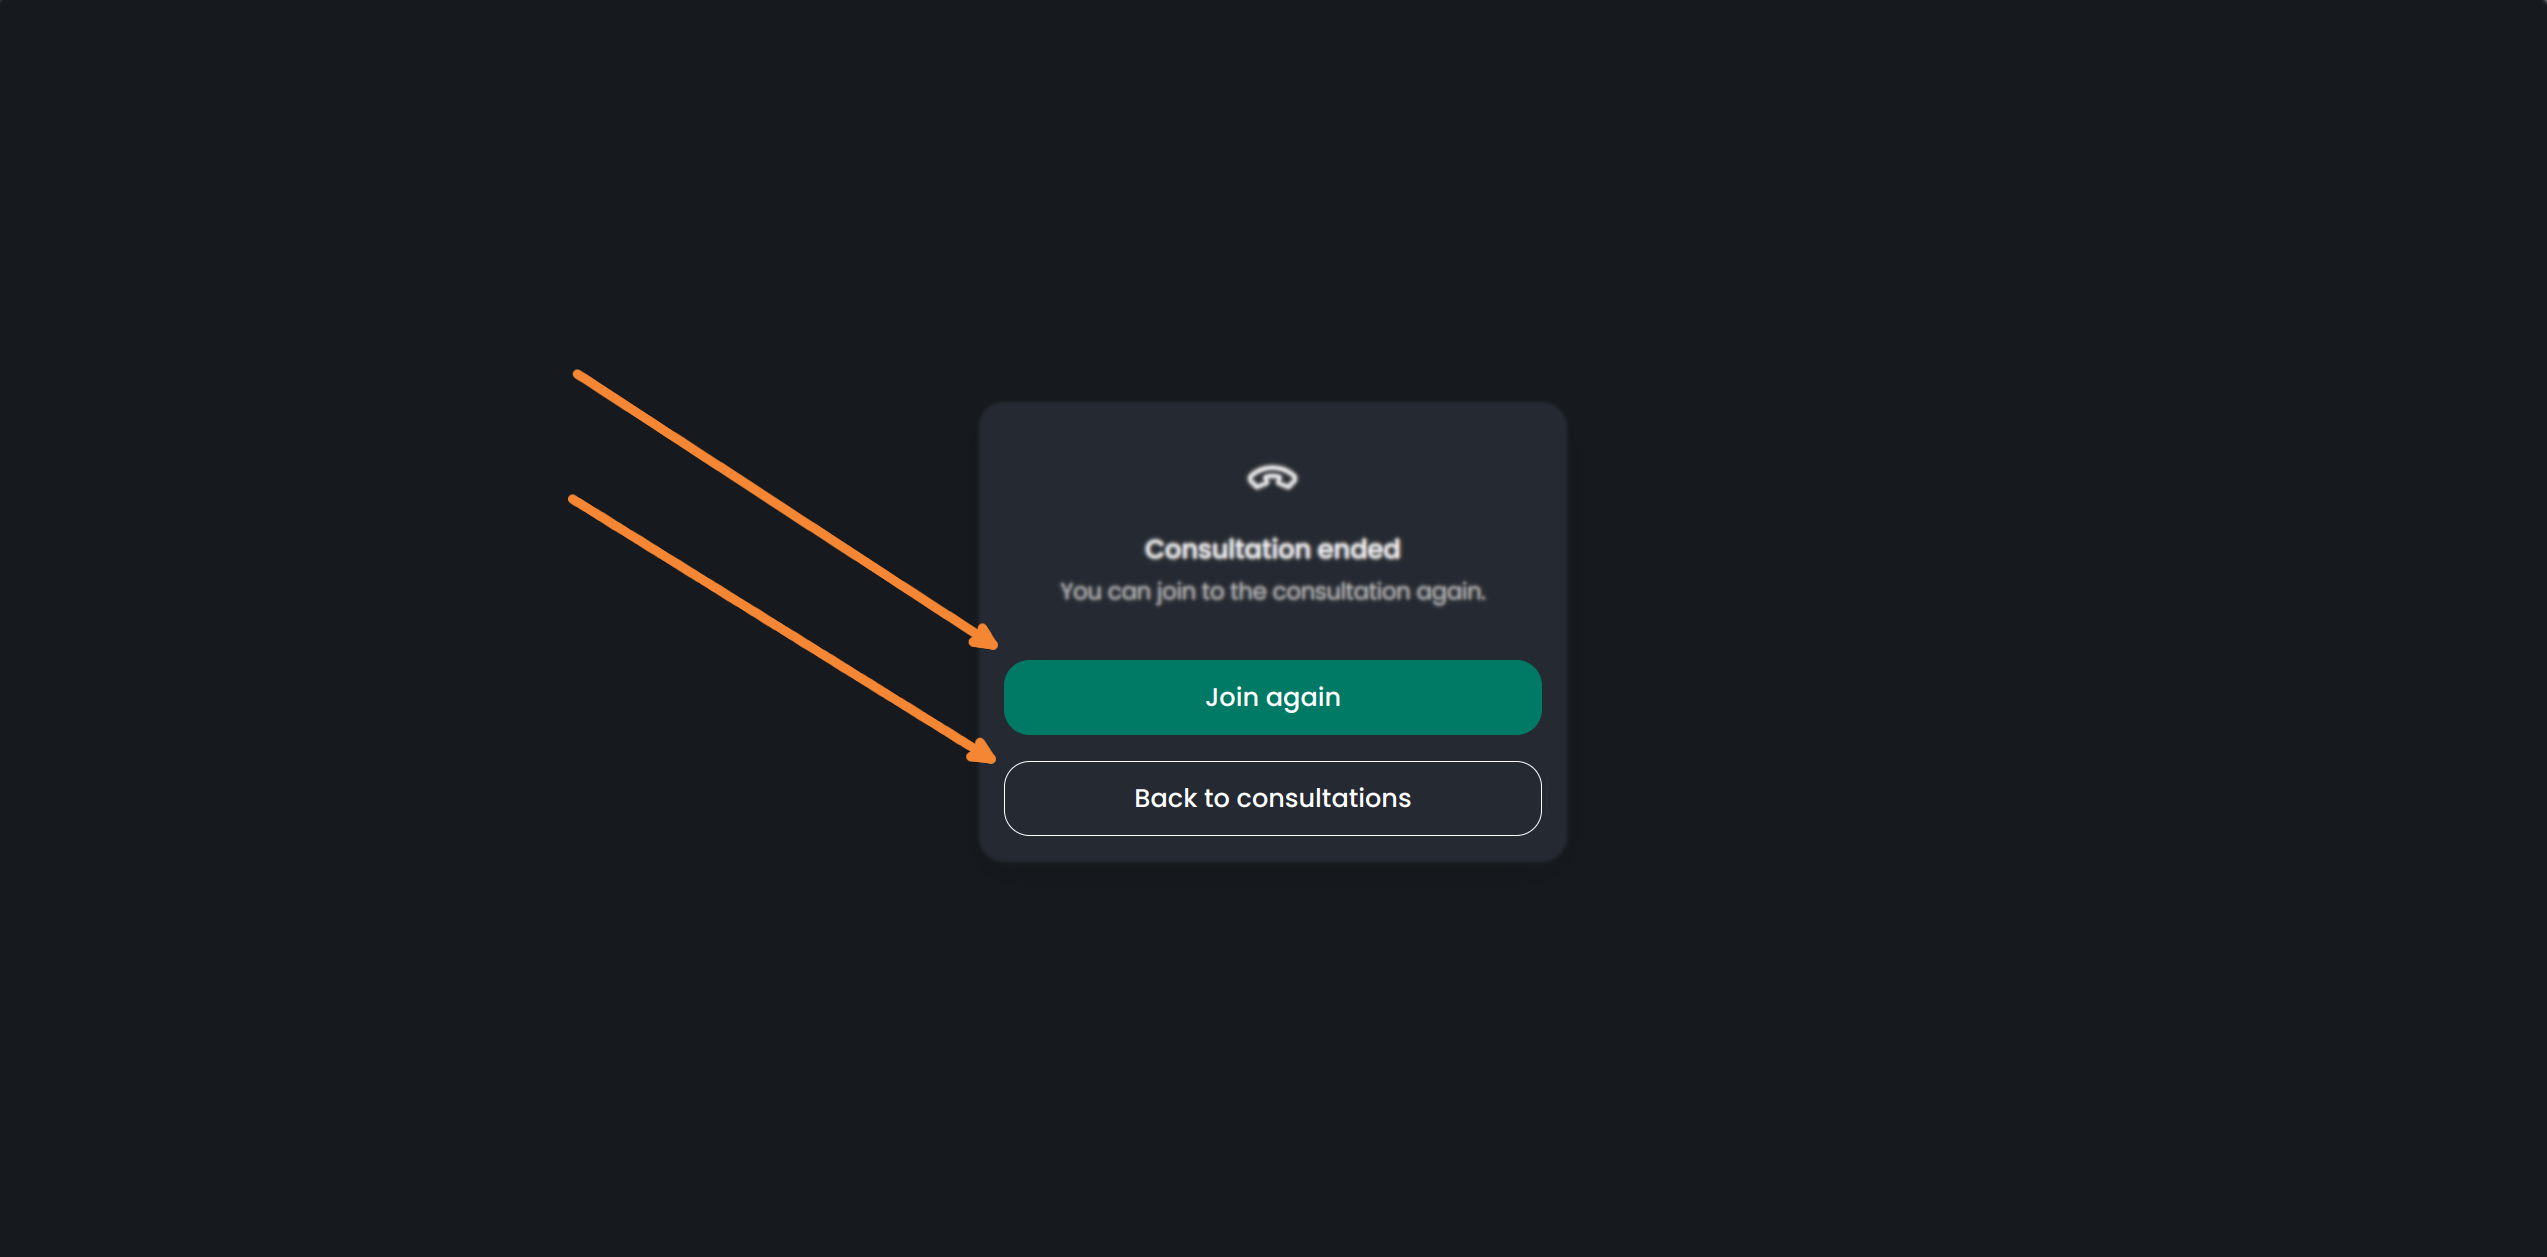
Leave the consultation
- Press the red "Leave consultation" button indicated by a hung up phone
- Confirm by pressing the red "Leave" button
- The consultation will stay live for at least 15 minutes or until all participants left
- You can rejoin the consultation by pressing the green "Join again" button or via the consultation URL
- Or go back to your consultation overview by pressing the "Back to consultations" button

Manage your consultations
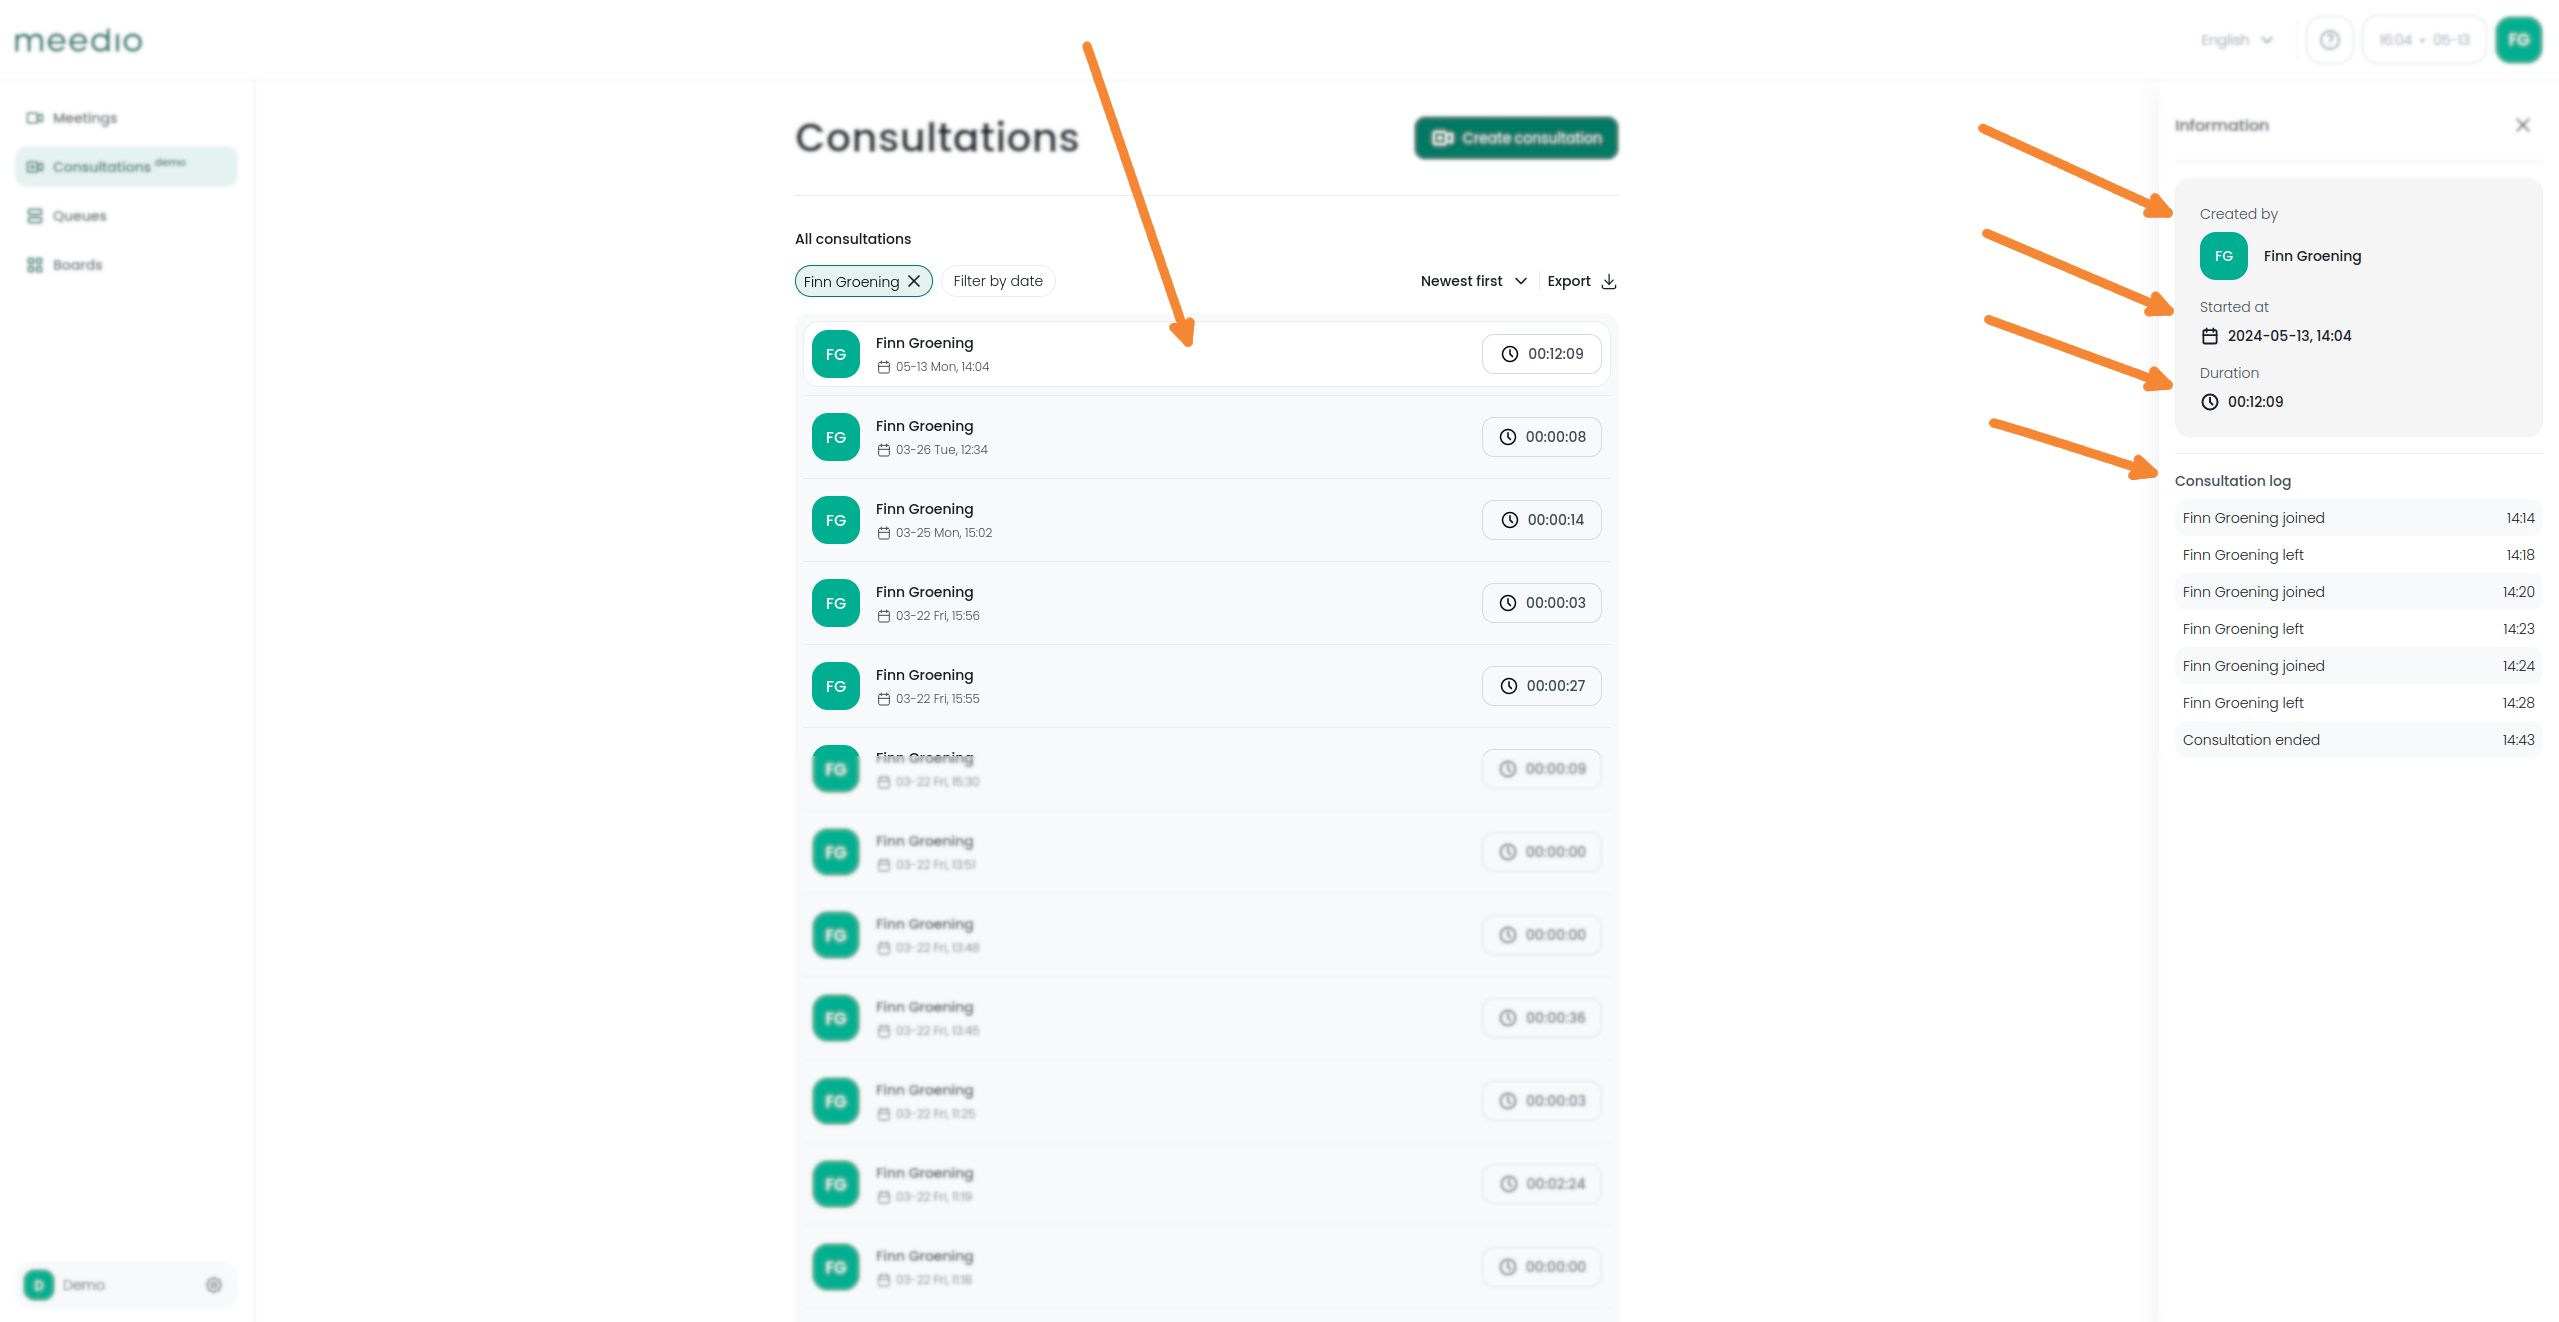
Access individual consultation information
- Pressing on the respective consultation will bring up an information window
- There you can see who created the consultation, when it started, how long it lasted, as well as the Consultation log displaying who joined and left at which time as the consultation took place
Download the consultation list
- Press the "Export" button which is located below the green "Create consultation" button
- Press the green "Export" button on the pop up
- A download should start with all your consultation list information as a .csv file

Filter the consultation list
- Filter your consultation list by name by pressing the "Filter by name" button which is located below the text that says "All consultations"
- Add all the members which you want to see past consultation of by pressing the white box next to their names (it will turn green with a check mark). Member are alphabetically sorted and you can scroll down to find them or type in the member name in the member search bar located at the top, then confirm by pressing the green "Confirm" button
- Filter your consultation list by date by pressing the "Filter by date" button and then selecting your desired time frame to see which consultations took place on the given time interval, either by pressing on the dates on the calendar or by manually filling out the desired time interval into the "Select date" text boxes. On the left side you select the starting time of the desired time interval and on the right side you select the end time of the desired time interval in which to filter the consultations
- To clear a set filter press the cross on the button where you set the filter
- Press next to the cross on the respective filter button allows to modify the respective filter
- You can set to have consultation shown in ascending or descending order depending on the time by clicking on Newest first/Oldest first right next to the filter buttons


We would appreciate your feedback.
Partnership
Visit our partner page
Find out more about becoming a partner.
Sales
Contact our sales team
We will help you to pick the perfect plan.
